

Get access
Sapiom Pay is still in early access (EA), so the sandbox is only enabled per organization. After you sign up at app.sapiom.ai/signup, reach out to your Sapiom contact, and we’ll enable it for your org.Enter Sandbox 🤘
From app.sapiom.ai, open the account menu at the bottom of the sidebar and click Open sandbox. This will take you to the sandbox state. Note: Since we’re still in early access, there’s no direct indication, but if you click the account menu again, the open sandbox icon will be gone.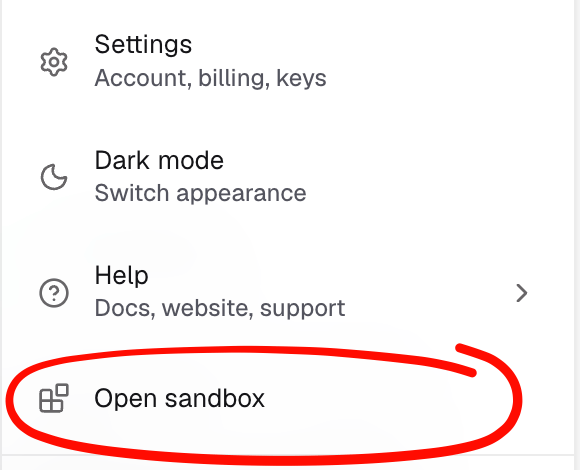
Open sandbox in the account menu
Get a Key
From the sandbox, open Developers → API keys and then click Create key. Give it a name, and click Create. Copy the key (it only appears once) and then save it securely. Below, we call itSAPIOM_SANDBOX_PLATFORM_KEY. You can create as many of these as you would like.
Create a sandbox buyer
The sandbox and production platforms have the same entry point, so the base URLs are all the same. Simply use the SK test key instead of your production key. Any Sapiom links returned in responses will be for sandbox pages as well.- REST API
- MCP
- Browser Pay SDK
Save a test card
Create a setup link with a sandbox buyer key, open it, and save this test card:
On any security code approval page, also use
123 as the security code.
Make a test purchase
Buy from Sapiom’s test store,https://sapiom-test-store.myshopify.com. It supports UCP checkout, so checking it with a sandbox buyer key returns supported:
ucp_checkout purchase and "merchant": { "origin": "https://sapiom-test-store.myshopify.com" }. The order is placed with the store’s test payments, so no money moves.